Introducing The NEW Fix-A-Floor Micro Syringe Injector!
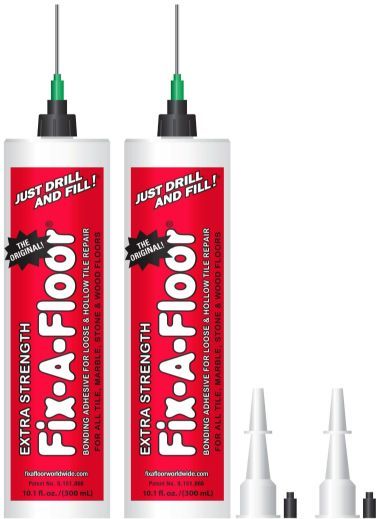
Fix-A-Floor’s revolutionary “Patent Pending” design with the 14-gauge blunt Steel injection needle with re-sealable cap, directly attaches to the Fix-A-Floor tube now allowing for additional injection into super narrow or no grout line flooring like marble, tile & stone & wood.
* The included 2.5mm diamond drill bit allows for the smallest 2mm holes to be drilled, creating professional, undetectable results! Of course, It’s also great for fixing those squeaky wood floors too! Don’t Remove or Replace, Just Drill & Fill!
The Fix-A-Floor Micro Syringe Injector PRO PACKS Come with Everything you need For a Professional Finish!
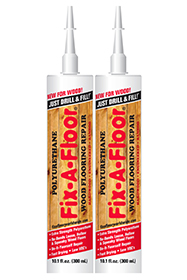
Directions for Fixing Wood Floors:
1. Locate problem areas by tapping with wooden dowel, broom handle or similar, mark perimeter with chalk or painters’ tape.
2. Inside the marked area use a 9/64" drill bit and drill at least 1 hole on each end of problem floorboard(s), larger areas may require additional holes. Vacuum over each hole to clear debris.
3. Pull cap off tip and unscrew the tip, with 1/8" bit; drill a hole into the top of threaded tube nub to open. If needed poke hole with awl through tip to clear, screw tip back on tube. Keep tube upright before useing to avoid spillage.
4. Using a quality caulk gun non dripless or the recomended Fix-A-Floor 10:1 Thrust Ratio gun, begin filling Fix-A-Floor into each drilled hole. Once adhesive spills up and out of nearby hole(s) this ensures complete coverage. Place finger over tip to avoid spillage when moving between holes.
5. Once filled, wipe clean with damp rag/sponge, and allow to cure for 24 hours before filling holes. Visit your local flooring/home improvement store to locate matching wood putty/filler and fill holes. For any excess residue please use mineral spirits to wipe clean. Your Floor is FIXED!