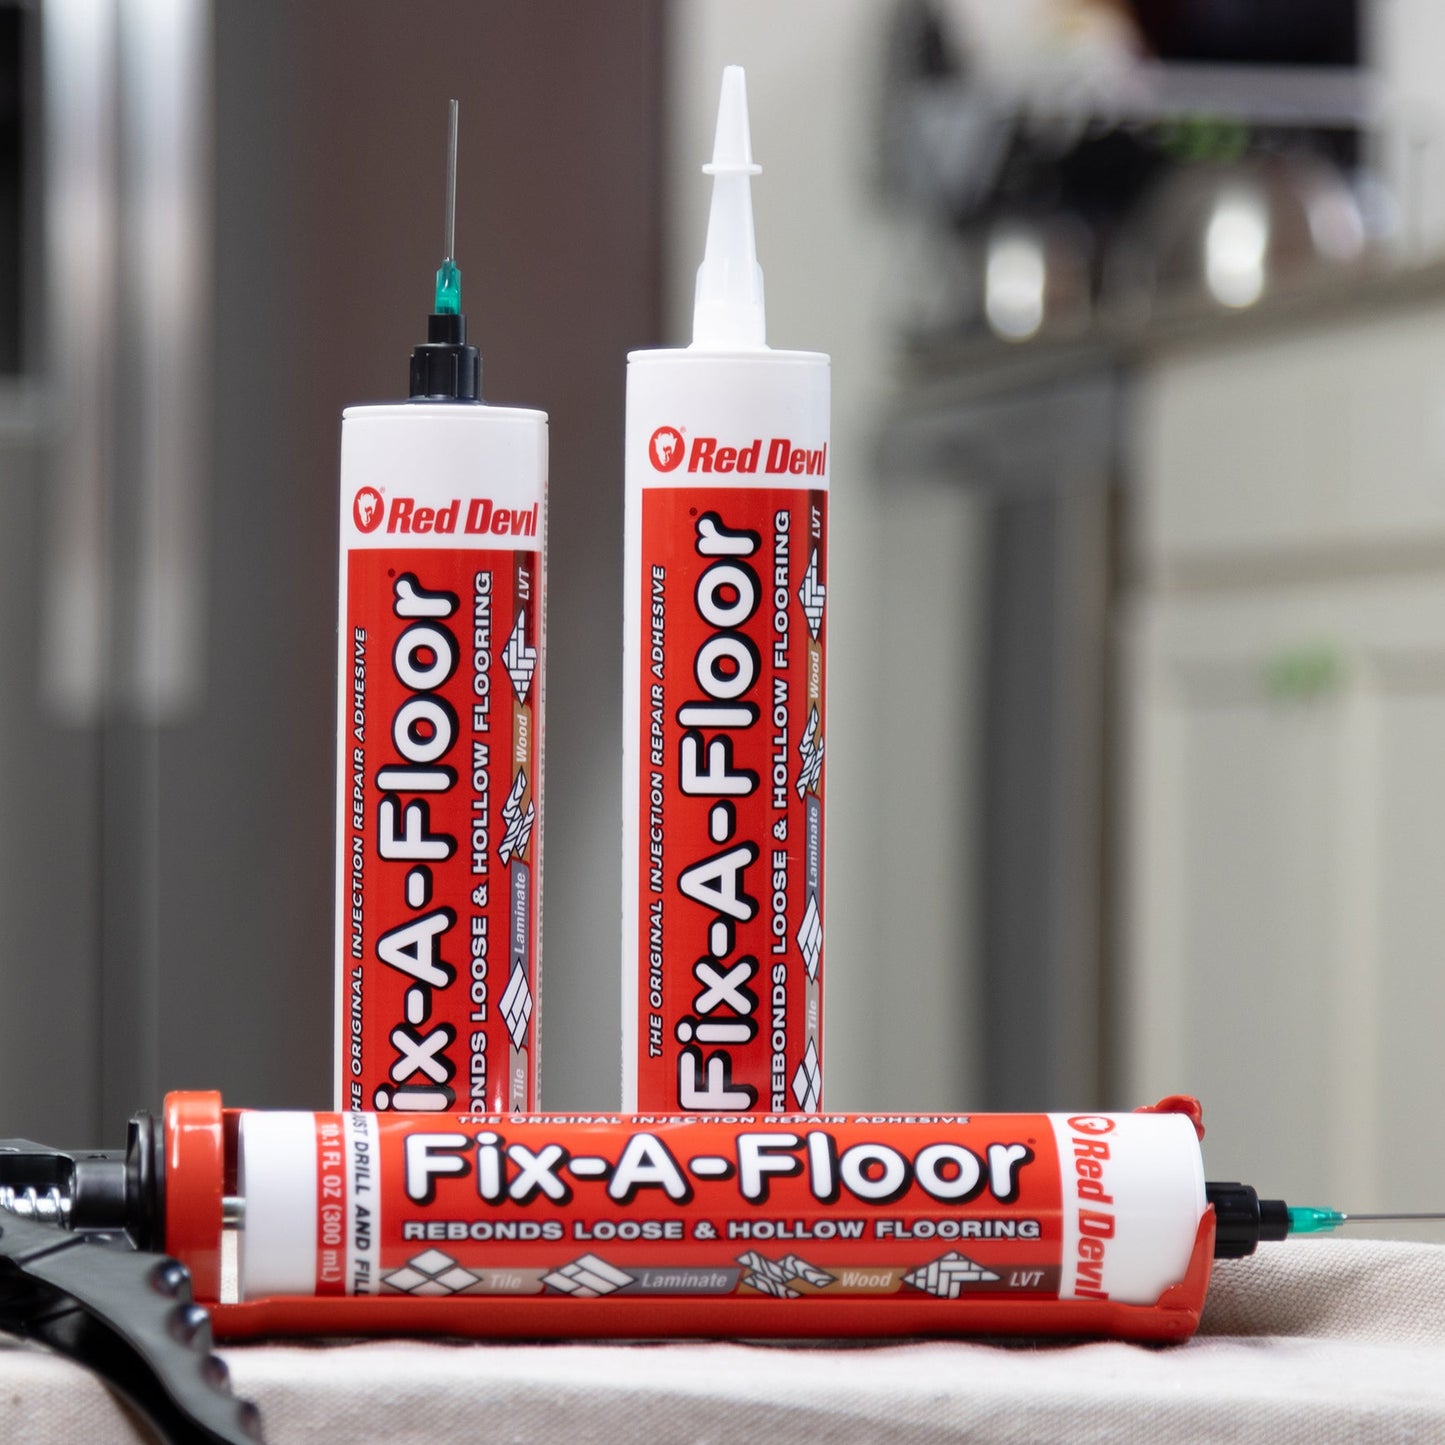
This guide walks you through the proper assembly for the Fix-A-Floor® Micro Injection Nozzle. Follow each step closely for precise application into grout lines, narrow seams, or hard-to-reach areas.
ONLY to be used with Fix-A-Floor® Injection Repair Adhesive 10.1 fl. oz. cartridge.
1.Remove Standard Nozzle
oCarefully unscrew and remove the standard nozzle from the top of the Fix-A-Floor® cartridge, exposing the threaded cartridge nub underneath.
2.Cut Cartridge Opening
oUsing a Utility Knife, cut an opening directly above the thread line of the exposed cartridge nub for adhesive flow.
3.Attach the Adapter
oScrew the adapter fitting onto the cartridge nub until it is secure. Do not overtighten.
4.Remove Resealable Cap
oTwist off the adapter’s resealable screw cap to open the adhesive channel. Keep this cap for resealing between uses.
5.Install Micro Injection Needle Tip Nozzle
oScrew the Micro Injection needle tip Nozzle onto the open adapter, ensuring a tight and leak-free connection. The needle allows for precise delivery of adhesive into small or narrow voids beneath tile or flooring.
6.Proceed with Adhesive Application
oOnce assembled, follow the full application directions provided on the Fix-A-Floor® cartridge label for proper use of the adhesive.
Pro Tip: After use, clean the needle and adapter with water and reseal the adapter with its screw cap to prevent clogging and allow for reuse.