Fix-A-Floor® Injection Repair Adhesive – Gallon Jug & Syringe: Step-By-Step Application Guide
This guide walks you through the proper surface preparation and application process for repairing hollow or loose tiles and planks using Fix-A-Floor® Injection Repair Adhesive. Follow each step closely for optimal bond strength and performance.
Surface Preparation
Step 1: Identify the Problem Area
- Using a wooden dowel or tool handle, gently tap along the floor to locate hollow or loose spots. Listen for a change in sound (a dull or hollow tone).
- Once detected, mark the perimeter of each affected area with tape, chalk, or other non-permanent indicators.
Step 2: Drill Injection Holes
- Using a standard or masonry drill bit, drill 1–2 holes straight down on each side of the tile or plank within the marked area.
- Drill only within the grout line, avoiding direct contact with the tile or subfloor.
- Recommended drill bit sizes:
- Tile applications: 1/8” to 1/4”
- Plank flooring applications: 9/64”
Step 3: Clean Out Debris
- Place a vacuum nozzle over each drilled hole to remove loose particles and dust.
- While vacuuming, gently tap around the area with a rubber mallet to help dislodge debris trapped beneath the surface.
Application Instructions
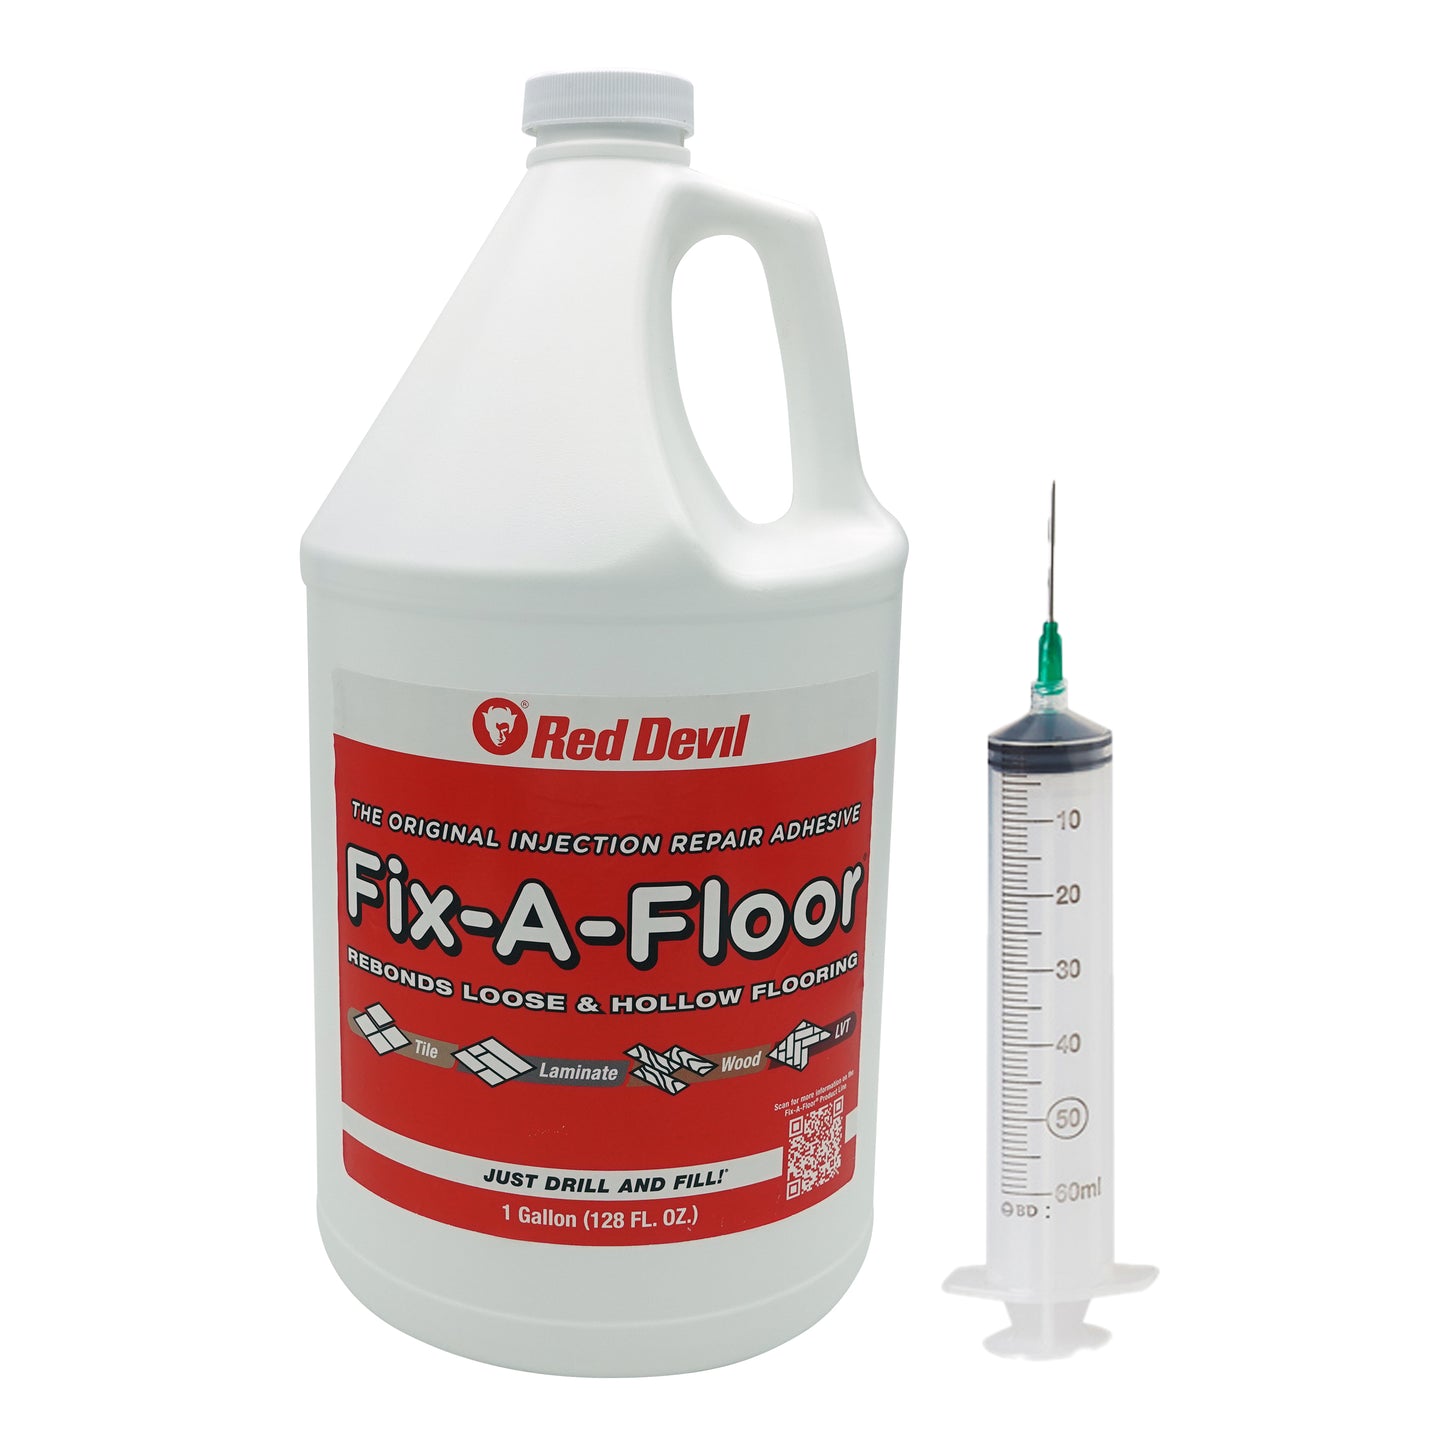
Step 4: Prepare and Apply Adhesive with Syringe
- Use a 60 mL syringe equipped with a 14-gauge blunt-tip needle for application.
- Remove the plunger from the syringe.
- Fill the empty barrel with Fix-A-Floor® Injection Repair Adhesive.
- Reinsert the plunger securely.
- Insert the needle tip into the first drilled hole and slowly and consistently depress the plunger, injecting adhesive into the void below.
- Continue injecting until adhesive visibly overflows from the adjacent holes. This indicates that the cavity beneath the flooring is fully filled.
- Repeat this process for each hole to ensure complete coverage and a uniform repair.
Step 5: Set and Cure
- Immediately wipe away excess adhesive from the surface with a damp sponge or cloth.
- Place a 20-pound weighted object (such as a bucket of water, toolbox, or heavy book) over the repaired area to secure the bond.
- Remove any additional overflow that may appear during settling.
- Allow the adhesive to cure undisturbed for at least 24 hours. Avoid walking on or placing stress on the area during this time.
Step 6: Fill and Finish
- After the adhesive has fully cured, fill the drilled holes using a matching grout (for tile) or wood filler (for plank).
- Smooth the filler over the holes to blend with the surrounding surface.
- Once dry, wipe the area clean with a dry cloth.
- For any remaining adhesive residue, use Fix-A-Floor® Adhesive & Residue Remover and follow label directions to safely clean the surface.
- Clean up any additional overflow that may occur and allow the adhesive to cure undisturbed for a minimum of 24 hours.
For Best Results
- Fix-A-Floor® Repair adhesive is NOT recommended for use on floating floor systems that utilize click-lock edges or underlayment. It can be used to repair glue-down laminate and luxury vinyl flooring. Ensure the product is tested in one repair area first before applying it to others.
- Not recommended for use on carpet flooring.
- Ensure the tile floor is installed properly using adequate expansion joints. Stress on the tiles will limit the success of this product.
- When repairing heated floors, ensure heating elements are turned off for 48 hours before, during, and after application.
- When repairing bathroom & shower tile, ensure subfloor is free of moisture before application and surface is adequately sealed after adhesive has fully cured.
- Can be used as a general flooring adhesive to reattach entirely removed tiles or planks.
-
Recommended for minor wood floor applications. For large-scale wood floor applications, use Fix-A-Floor® Polyurethane Wood Floor Repair.

1
/
van
4
Fix-A-Floor® Injection Repair Adhesive Jug
Normale prijs
$55.29
Normale prijs
Aanbiedingsprijs
$55.29
Eenheidsprijs
/
per
Verzendkosten worden berekend bij de checkout.
Share