Fix-A-Floor® Tile Grout
Fix-A-Floor® Tile Grout - Step-By-Step Application Guide
This guide walks you through the proper surface preparation and application process for using Fix-A-Floor® Tile Grout to effectively regrout grout lines after Fix-A-Floor® Injection Repair Adhesive application and for general grout line repair.
Preliminary Surface Prep (Post Fix-A-Floor® Injection Repair Adhesive Application)
- Before beginning any grout repair, verify that the adhesive has fully cured, which typically takes 24 hours but may vary depending on temperature and humidity.
- Clean the area thoroughly: Remove any residual adhesive or dried material from the surface of the tile using a damp cloth or gentle cleaner. This ensures the grout bonds properly and creates a uniform appearance.
Grout Joint Preparation (For Existing Tile Installations)
- If you're repairing grout in an existing tile installation, remove approximately 1/16” of the old grout from between the tiles using a grout rake, oscillating tool, or small chisel. This creates space for the new grout to adhere securely.
- Disinfect the area with a mild bleach solution or grout-safe disinfectant to help eliminate mildew and bacteria that can grow in damp tile joints.
Application Instructions
- Clean Surface
- Using a wet sponge or stiff brush, scrub the joints and surrounding tile to loosen and remove any dust, dirt, or soap scum.
- Dry the surface thoroughly with a clean cloth before applying new grout to prevent moisture from weakening adhesion.
- Prepare the Tube
- Remove the cap from the grout tube.
- Cut the nozzle at a 45° angle to your desired bead size—ideally matching the width of the tile joint to ensure even filling.
- Apply the Grout
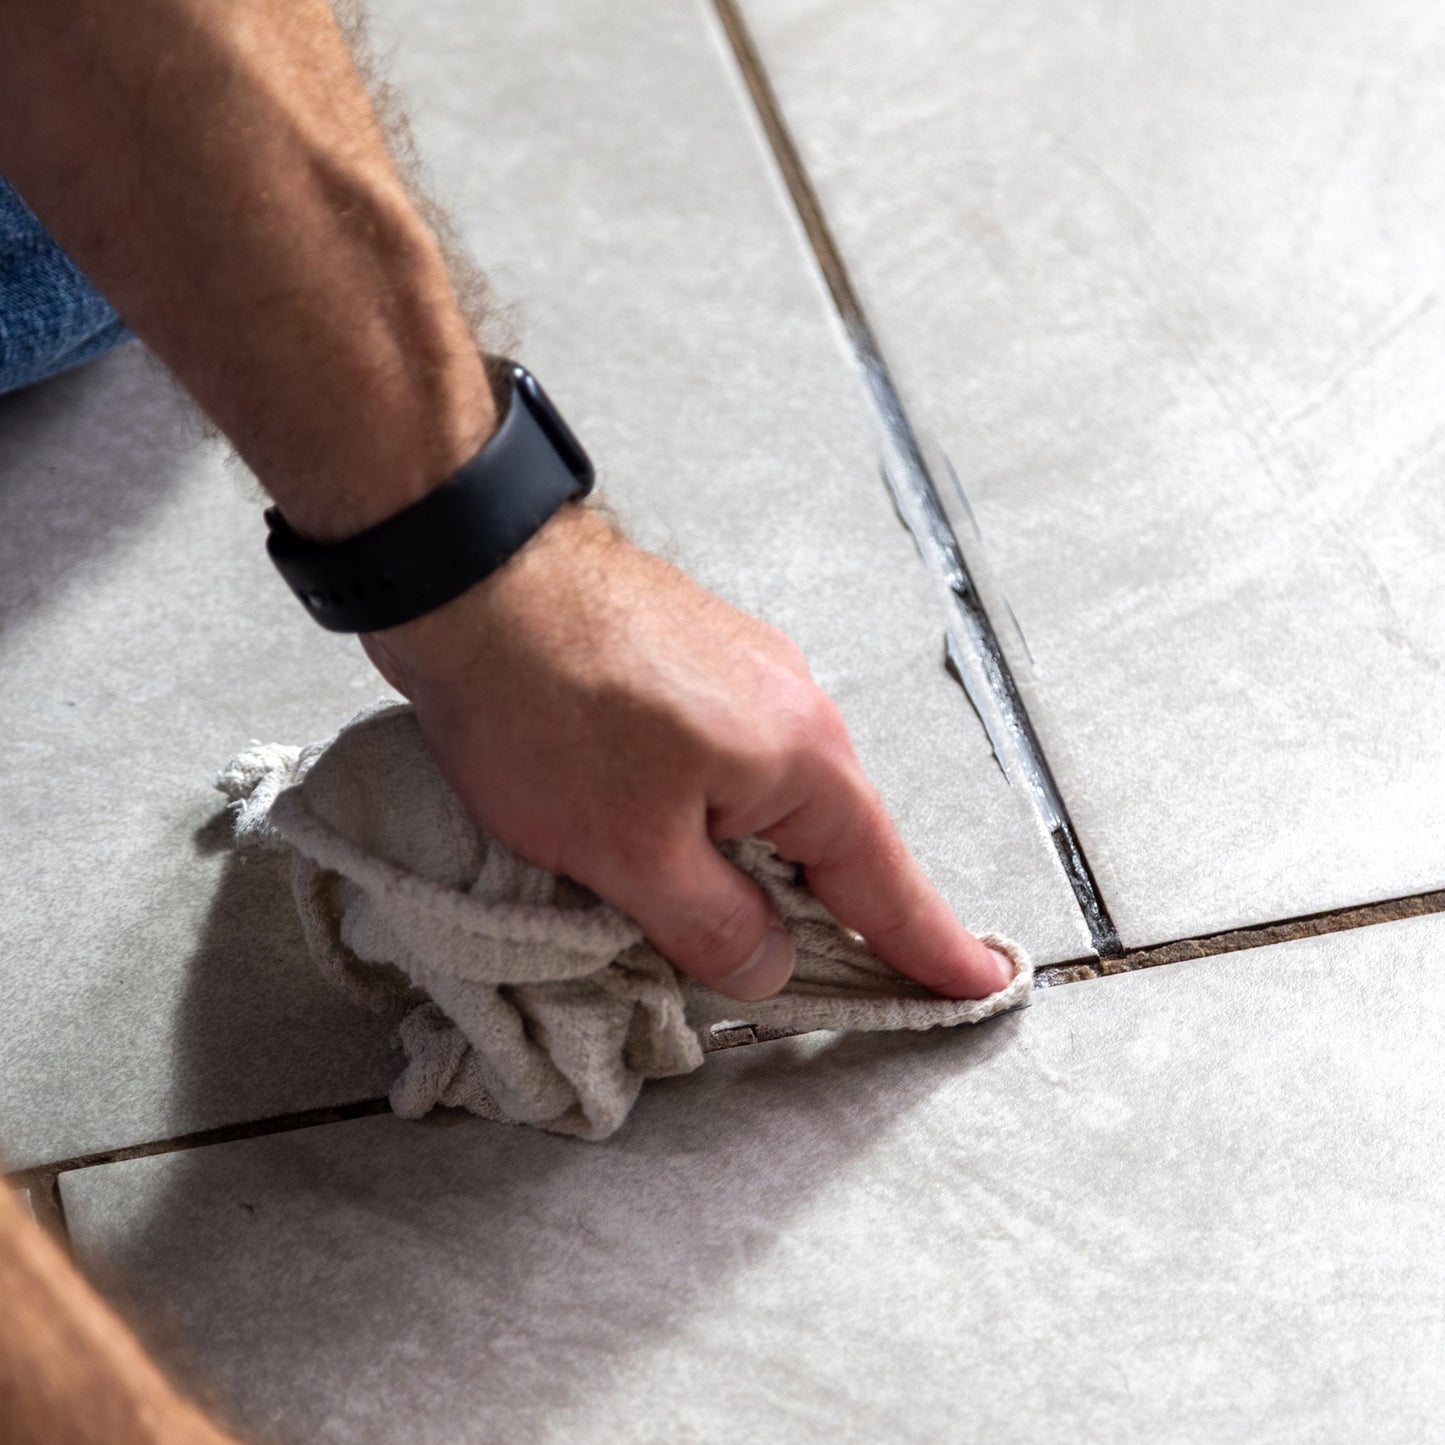
- Squeeze the grout directly into the tile joints, applying firm and even pressure.
- Use a grout float or damp cloth to press the grout into the joints and smooth the surface.
- For optimal results, work in sections no larger than 4 square feet at a time to prevent the grout from drying before you can clean it.
- Initial Set and Cleanup
- Gently wipe away excess grout from the tile surface using a damp sponge or cloth. Avoid pressing into the joints during this stage.
- Buff the Surface
- After letting the grout dry for 1 hour, use a clean, dry cloth to buff the tile and remove any remaining grout haze.
- Cure Time
- Let the grout cure undisturbed for 24 - 48 hours before exposing it to moisture, heavy foot traffic, or applying grout sealer.
- In high humidity or poorly ventilated areas, allow additional time for full curing to ensure the integrity of the repair.
Pro Tip: For best results, maintain ambient and surface temperatures above 55°F (13°C) during and after application. Avoid applying in extremely humid or wet conditions.

1
/
von
5
Fix-A-Floor® Tile Grout
Normaler Preis
$10.99
Normaler Preis
Verkaufspreis
$10.99
Grundpreis
/
pro
Versand wird beim Checkout berechnet
Share